


.webp?width=250&height=131&name=how-to-use-gdms-q1-2024%20(1).webp)


Grandstream’s GDS3710 is a great addition to our portfolio, allowing you to track, manage, and record access to offices, warehouses, apartments, and more. It also includes a built-in IP Intercom. While it’s likely self-explanatory that the GDS integrates with surveillance equipment (such as our GVRs) it may be surprising to know that you can control door access by integrating your Grandstream GXP and GXV series Phones with the GDS. We use this feature in our headquarters all the time, and it’s so convenient! So, I thought I’d use today’s blog to talk about its setup so you can enjoy the ease of seeing who is at the door, directly from your desktop.
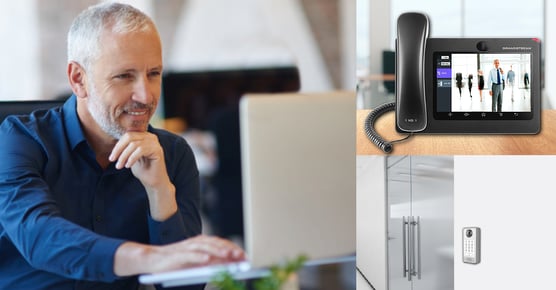
What can my phone do?
First, let’s talk about how the different phones in Grandstream’s Portfolio can integrate and function with the GDS3710. The GXP2100 and GXV3200 series phones offer the most control from your desktop, allowing you to open and close the door, store snapshots, show a frame by frame of the live video feed, and communicate through the intercom. When using the Basic GXP1600 series, Mid-range GXP1700 series, and DECT IP Phones you can use the audio intercom. Since the setup is similar for each, I wanted to focus on the GXV and GXP Phones since they offer up the most control.
How it’s done, setting up the GDS
First you will need to configure the GDS with the GXP IP Phone’s IP Address that you want to use, related SIP port, and remote PIN for door opening.
- Sign in to the GDS’ Web UI as the Administrator, once there go to Door System Settings-->Basic Settings.
- To configure the phone to ring when someone presses the doorbell on the GDS, the setting “Number Called When Doorbell is Pressed” is the setting you will want.
- To be able to unlock the door from the phone, the setting is “Control Doorbell Output (Digital Output 1)”. Under the options that you want to enable, enter the GXP’s IP Address and related SIP Port number.
- Enter the remote PIN to open the door via DTMF while in an active call with the GDS3710.
Now you’re ready to set everything up from the phone side of things.
How it’s done, setting up the GXP/GXV Phone
- Once logged into the Web UI of the GXV or GXP Phone go to Account-->General Settings--> and set Account Active to Yes. Be sure to click on the button and save your changes.
- Next go to Account--> SIP Settings--> and verify that the local SIP Port configured on the GXP/GXV IP Phone is the same as the one on the GDS3710.
- Once that is completed, go to Settings-->External Service and set service type to GDS.
- Select the account and specify the system identification, for example GDS3710_Front_Door.
- Type in the GDS3710’s IP Address, which in this situation is referred to as the System Number. Once this is complete you will be able to use the control features of the GDS directly from your desk top.
Don’t forget that there are also options for setting up your GXP1600, GXP1700 and Grandstream DECT IP Phones for additional functionality when being used with the GDS. As always, be sure all of your products are running the most recent firmware so you can enjoy all the features we offer. For more details and how to connect using a SIP Server see the full setup guide here.